



The electrical system is an important part of your campervan conversion, as it supplies you with power on your travels and allows you to enjoy comforts off-grid. Planning and installation require time and the necessary expertise and should be done step by step.

A well-thought-out electrical installation with components such as a lithium battery ensures that you are independent and that your devices have enough power, whether for charging smartphones and laptops or operating electrical appliances in your campervan kitchen. The right wiring diagram protects you from overloads and short circuits in the vehicle, which is essential for safety.

In addition to the circuits, you can also integrate extras such as solar systems and 230-volt sockets into your self-build to make your energy supply even more flexible. A clean electrical system is the heart of a functional and comfortable camper that will safely accompany you on all your adventures. We explain how to ideally set up your camper electrics and plan them correctly from the outset during your camper conversion.
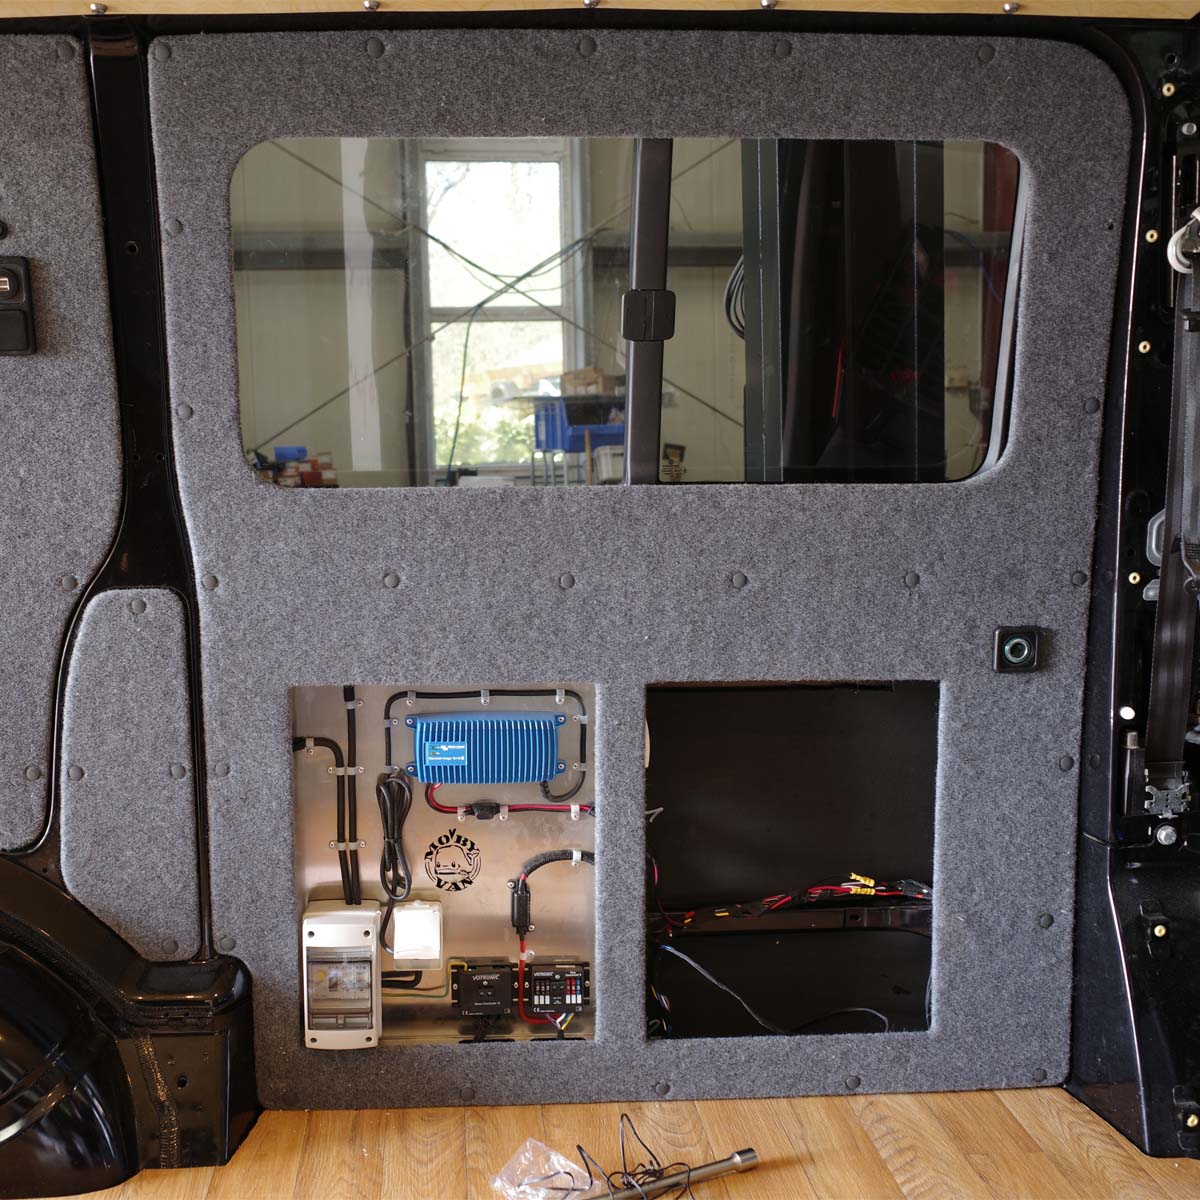
Implementing Camper Electrics Safely: Step-by-Step to a Reliable Power Supply for On-the-Go

Proper electrical planning

Before you begin your electrical installation, a clear concept is crucial. The wiring diagram will be your best friend, as it helps you keep track of the various components, such as AGM or lithium batteries, charger, fuses, inverter, and solar panels. Start by drawing a detailed wiring diagram that provides a good overview of all electrical devices, outlets, and cable routes in your camper. Careful planning of the voltage (12V or 230V connections) and power of your devices is also crucial to choose the right battery and appropriate wiring.

When selecting abattery, not only the price and manufacturer play a role, but also your individual needs. Lithium batteries are lighter, more efficient, and more durable than AGM batteries, but also more expensive. If you plan to regularly use solar panels or install a power station, lithium batteries are often the better choice. For occasional camping trips, however, AGM batteries offer a solid and cost-effective alternative. The correct sizing and installation of the electrical components are essential for a safe camper conversion.Tip: Our experts recommend using an additional charge booster to ensure that your batteries are charged even while driving. Solar energy works best in direct sunlight; for bad weather days, a power station is the best support.

Your own dream mobile home

Custom interior fittings

Custom-built interiors for your camper van, specifically tailored to your style, wishes, and needs.

Professionals at work

Your van is in the best hands with us: our team knows the latest space-saving tips, technologies, and camper trends.

Self-actualization

Do you prefer to put your ideas into practice yourself? Start your campervan project today with the right equipment from our online shop.

Renovation project

Your camper van needs an update? If the furniture, electrics and other components are already getting on in years, our experts can help you with the replacement.

Electrical installation in the camper van

  1. Battery Installation: Whether you use AGM or lithium batteries, install them in a well-ventilated and accessible location. Ensure the batteries are securely fastened to prevent vibrations while driving.
  2. Connecting the Solar System: Solar panels are a great way to power your camper independently. Connect them to the battery via a solar charge controller to optimize power utilization.
  3. Wiring and Fuses: Use high-quality cables and ensure all connections are secure and stable. Every live wire should be protected by a fuse.
  4. Inverter Installation: If you also want to operate 230 V devices, you will need an inverter that converts the DC power from the battery into AC power.
  5. Testing and Commissioning: Connect all devices, test the power supply, and check that the battery monitor is working correctly and all components are communicating properly with each other.

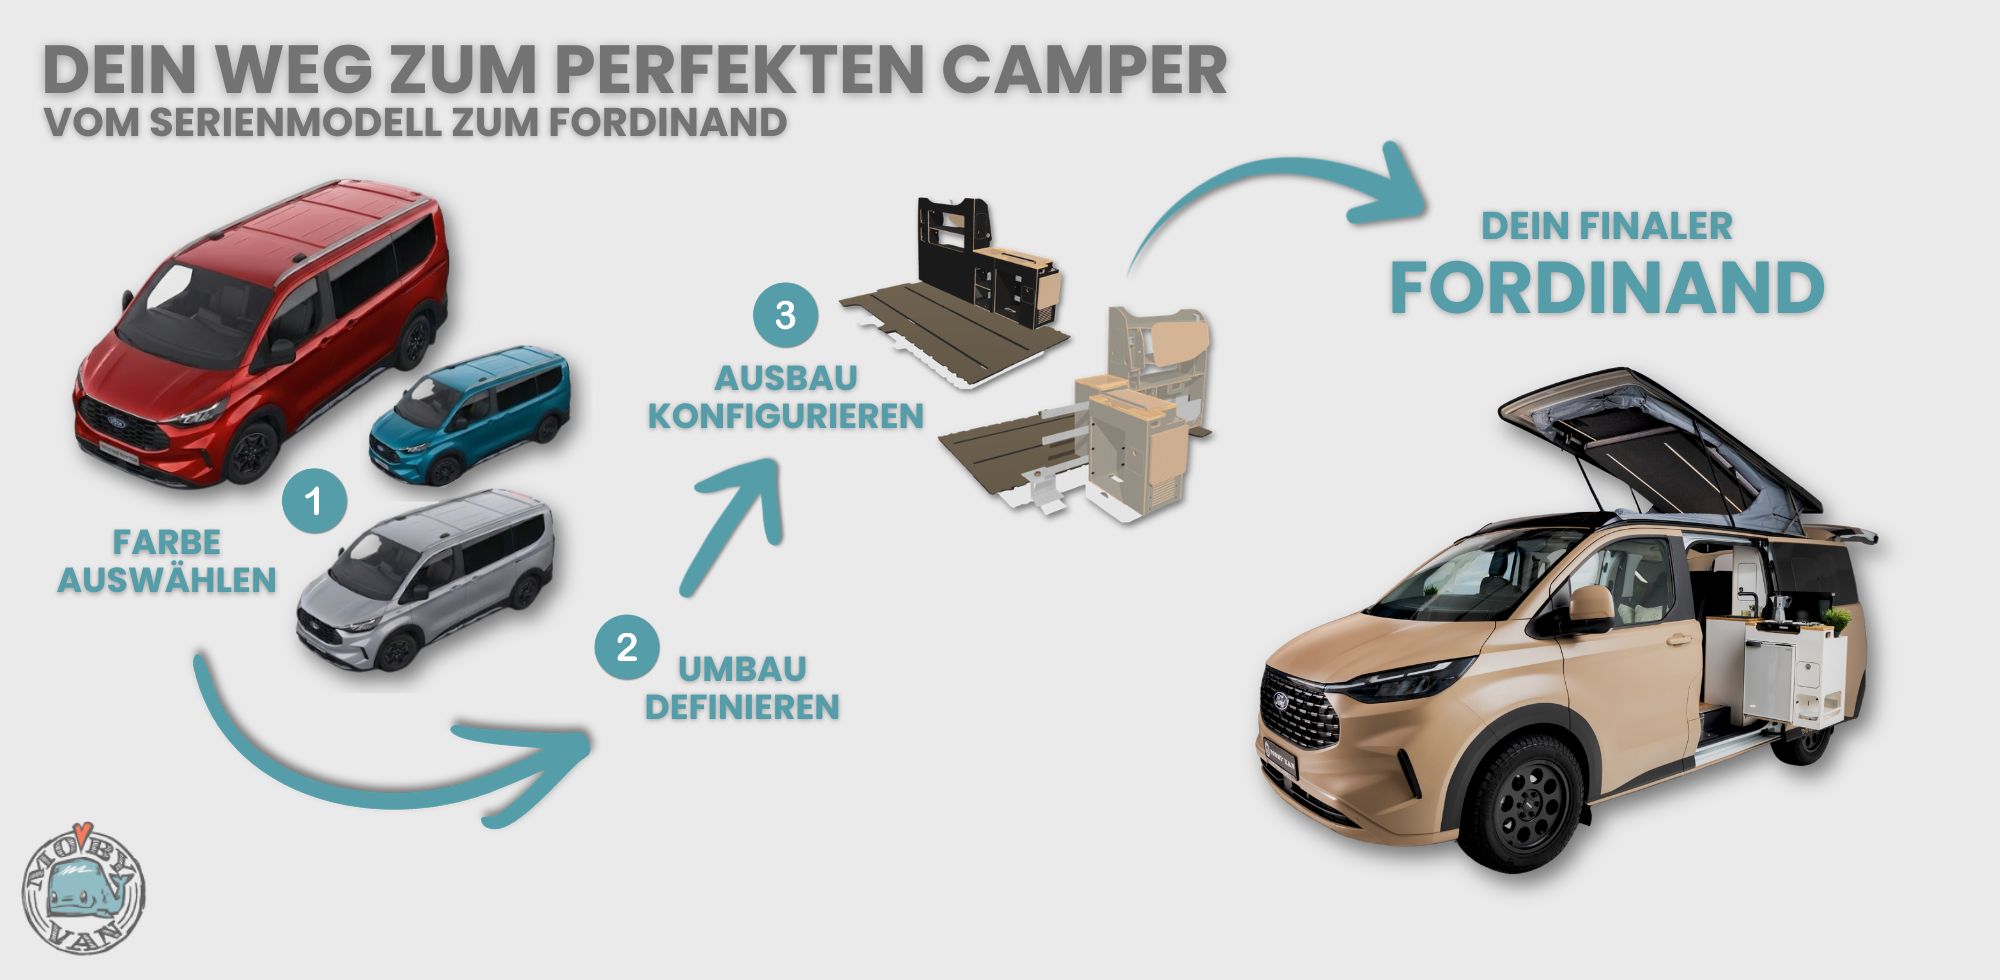
How the expansion works:

Submit request

Simply send us an inquiry with your specifications and requirements and our team will show you the possibilities.

Frequently Asked Questions

Power consumption in a camper depends heavily on your individual usage habits and the vehicle's equipment. Factors such as the number and type of electrical devices (e.g., lights, refrigerator, lighting, chargers, air conditioning, hobs, water systems, and heaters), the frequency of use, and the duration of stay play an important role. An average camper consumes between 20 and 100 Ah (amp-hours) per day, depending on equipment and usage. If you only use basic devices like lighting and smartphone chargers, power consumption may be on the lower end. With devices like refrigerators, TVs, or a heater, the demand can be significantly higher. It is advisable to determine your individual needs and, if necessary, consider solar panels or a larger battery to ensure self-sufficient power supply.

When it comes to the electrical system in an RV, it's crucial to choose the right cable to ensure a safe and reliable power supply. In general, high-quality copper cables should be used as they offer good conductivity. Cable cross-sections must be carefully matched to the respective current strengths and cable lengths to avoid voltage drops and overheating.

For 12-volt systems, cables with a cross-section of 1.5 mm² to 6 mm² are typically used, depending on the connected device and the distance to the power source. For larger consumers, such as inverters or powerful appliances, larger cross-sections may be required. For 230-volt systems, as commonly used with shore power connections, cables should have a minimum cross-section of 1.5 mm².

It's also important to use flexible stranded cables (fine-stranded cables) as they are less prone to breakage due to movement in a mobile vehicle. Furthermore, cables with appropriate insulation, such as PVC or rubber, should be used to protect them from moisture and mechanical influences.

Ultimately, the correct sizing and quality of the cables are essential to ensure safety and reliability in your RV.

The cost of electrical systems in a camper varies depending on requirements and the scope of the installation. For a simple basic setup, such as lighting, USB charging ports, and a small battery, costs can range from approximately 500 to 1,000 Euros. For a more comprehensive electrical system that includes solar panels, larger batteries, inverters, chargers, and a complete 230-volt supply, costs can range from 2,000 to 5,000 Euros or more.

Individual preferences, such as high-quality lithium batteries or powerful inverters, will further increase costs. Professional installation by an electrician can also add to the overall expenses.

Inquire now